
Using multiple Creo Illustrate figures in Arbortext
- Create figures of the CAD model in Creo Illustrate
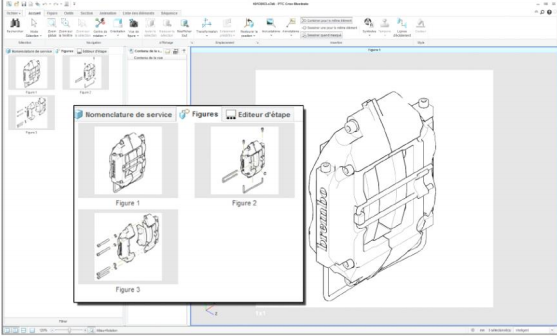
- Generate a PVZ file with using >File >Publish >Publish in Creo Illustrate
- The attribute "Figure" must be added to the <image> tag
- Find the DTD where the <image> tag is defined.
- In the file commonElements.mod add the yellow lines

- In a XML document add the PVZ image several times with selecting different Figure name
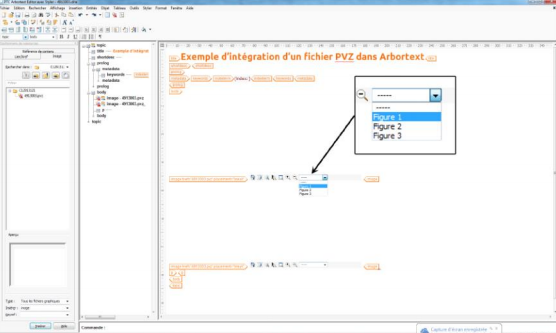
- Open the stylesheet and select the <image> tag in the document
- In STYLER the <image> element EveryWhere is selected
- Select on the keyboard
- In the Attribute list select "Figure" and check the "View" ratio button
- Refresh the stylesheet and save it
- In the XML document modify the attribute for each image element
- Select the Figure name in the Figure attribute
- Save the document and publish to PDF.